
Adding a cPanel Hosting plan in WHMCS
To create a cPanel hosting plan in WHMCS make sure that you have added your cPanel reseller account to WHMCS already and that you have created a hosting package within WHM.
Step 1: Log in to WHMCS and navigate to Setup > Products/Services > Products/Services > Create New Group to setup a product group, for instance "Web Hosting"
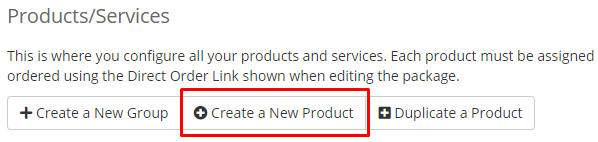
Step 2: Once you have created a group you can now create a product/hosting account under that group. To create a product, click on the "Create a New Product" button towards the top of the page.
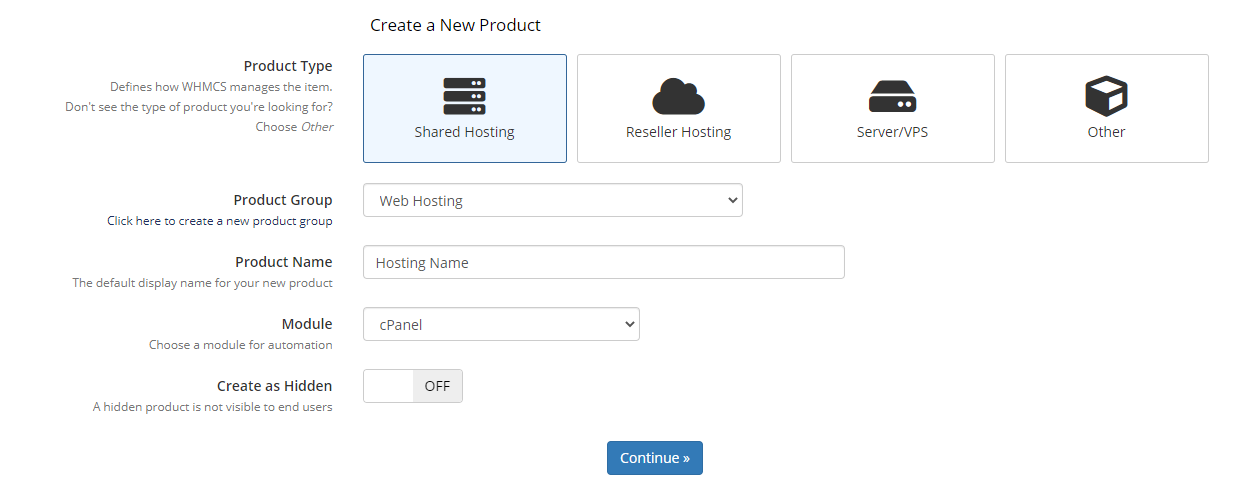
Step 3: You should now be presented with a page to configure your products details. I have included the configuration settings for a basic cPanel based hosting plan below:
- Product Type: Shared Hosting
- Product Group: Select the group you created in Step 1.
- Product Name: Name of the hosting plan.
- Module: cPanel
- Create As Hidden: Off
Here is an illustration of those settings within WHMCS
Click on "Continue" and proceed to the next step.
Step 4: The product has now been added to your WHMCS and you will be presented with a bunch of new options that you can edit at any time. Navigate to the "Module Settings" tab and proceed to the next step.

Step 5: Change the products Module Name to "cPanel". You can leave "Server Group" as none/blank if you do not have one in place, it is only used if you have multiple reseller accounts. The most important aspect of the products module settings is the WHM Package Name, as that is the hosting plan that WHMCS is going to use when creating the hosting account. So make sure you have created a hosting plan in WHM first and then selecting it in the WHM Package Name drop-down list as illustrated below.

Step 6: Once you have added the correct WHM package and Module Name, click on Save Changes. Your product should now automatically be accessible by WHMCS to provision, suspend and terminate when required. You can now begin editing the product's pricing, details, etc.
